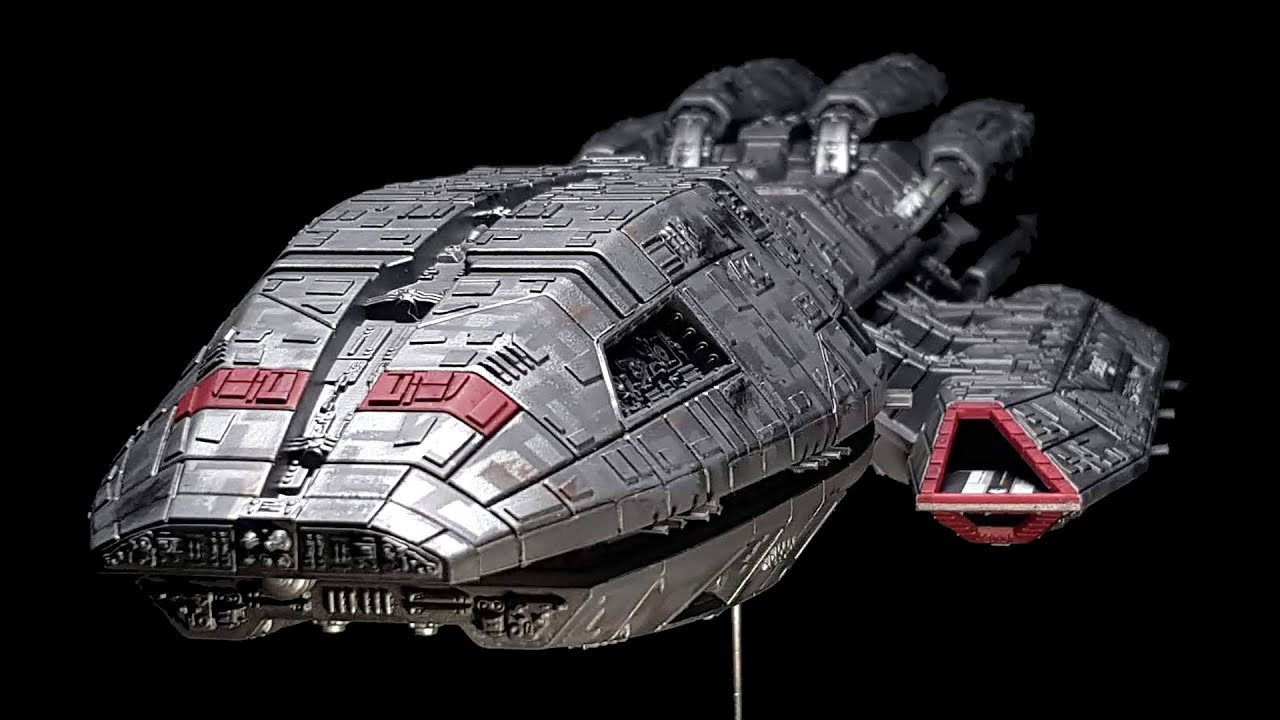
For decades, science fiction fans have built models of their favorite TV and movie spaceships. Plastic kits of classics like the U.S.S. Enterprise, Millennium Falcon, and Battlestar Galactica, have been around for years, and are regularly reissued for new generations of hobbyists.
However, it sometimes takes skill and experience to assemble such kits with a professional result. Here are a few guidelines for building the best-looking fictional space ships. (Many apply to plastic model kits of real-world ships as well.)
Building the Model Kit as Expertly as Possible
Most kits are a box of parts attached on molded racks, which need to be detached, then glued together with plastic cement. When assembling your kit, keep the following in mind:
- Trim all pieces. Though they usually snap off from their molding cleanly, there can be a small, uneven edge left over. Use a hobby knife to trim each piece smooth.
- Pre-fit as much as possible. Before gluing the pieces, make sure you understand how they fit together, and that they do so snugly. A dry run before gluing will ensure a better end result, and help prevent mistakes.
- Follow directions. It may seem obvious, but review the instructions carefully. With sci-fi spaceships, it’s more difficult to know how the model is supposed to look.
- Pre-paint, if necessary. There may be clear plastic pieces that must be painted on the inside, before the model is glued together. Alternatively, you may find it easier to paint hard-to-reach pieces in advance. Make sure in either case not to paint any edges that will be glued later they won’t stick.
- Use contour putty. Sometimes, there will be noticeable seams or gaps in an assembled model. Dab in some putty, available at hobby shops, to fill unwanted holes. Sand it smooth once the putty has dried.
Painting and Detailing Your Newly-Built Starship
Though model kits are often molded in plastic the same color as the ships they represent, they still need to be painted, and have other details added.
- Use a spray paint for the base coat. A small spray can of paint will give your model an even, professional color, especially if your model is large. Remember to mask any spots that may have been pre-painted a different color.
- Don’t use shades that clash. Many starship models call for a light gray base, with details in medium and dark gray. Be sure that the shades of gray are subtle otherwise, the surface of your ship will look too busy and over-detailed.
- Follow directions to a point. Model kits will tell you what colors to paint different sections, but they may not be the exact colors featured on TV or other media. Box cover art, likewise, may not be accurate. Use your judgment to match your paint job to the original.
- Arrange decals carefully. Decals provide details too small to paint, but they are delicate. Make sure to set decals accurately, and be careful not to tear or crumple them. If larger decals rip, you can still line up the pieces.
- Give your finished model a coat or two of lacquer. Clear lacquer, when sprayed on, will give your model an attractive finish, protect your paint job, and set decals. It’s especially important to protect the finished model if you plan to handle it regularly.
Displaying the Finished Spaceship Model
If you’ve assembled the model carefully, and detailed it correctly, your ship should now be ready for display don’t forget to finish the display stand, too. Even if it won’t appear on the big screen, your model should look great on a shelf or desktop.